How to remove Seiko chronograph pushers (and then refit them)
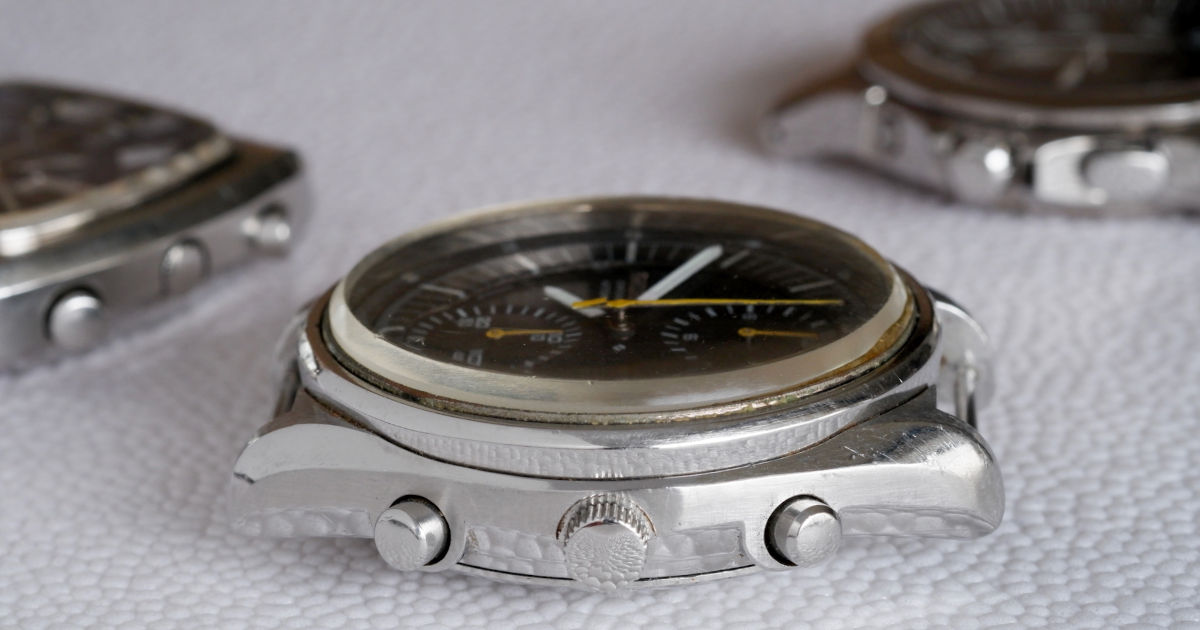
Ever wondered how to remove chronograph pushers without the c-clips making a leap into hyperspace? I've lost more c-clips than I care to remember so here are the tips and tricks I've learned to make the process easier and, dare I say it, enjoyable! Note that this guide applies to Seiko spring pushers, not the screw type found on some other watches.
Pusher removal
Step 1
Obviously the first step is to remove the crown and movement, as well as make sure you're in a well-lit space. Here I'm demonstrating on a radio wave control watch (Seiko 5B21-0AA0) which admittedly is not a chronograph but it has the same pusher type, as well as a different type for kinetic watches, so we can see both approaches.
Step 2
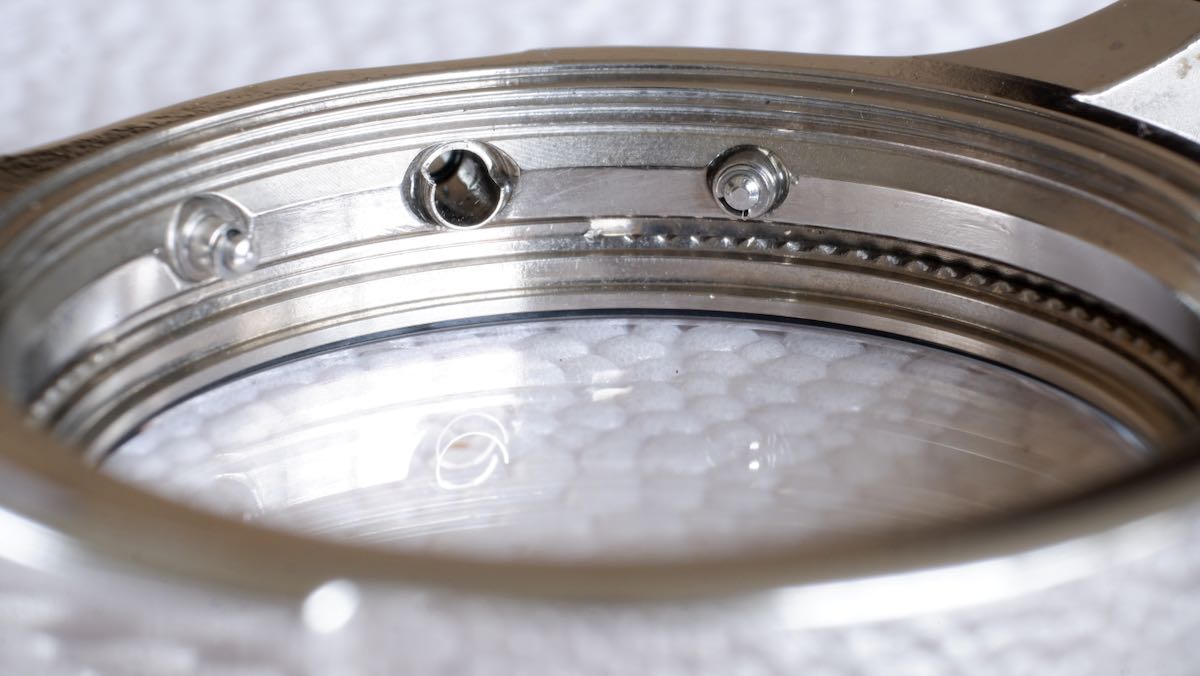
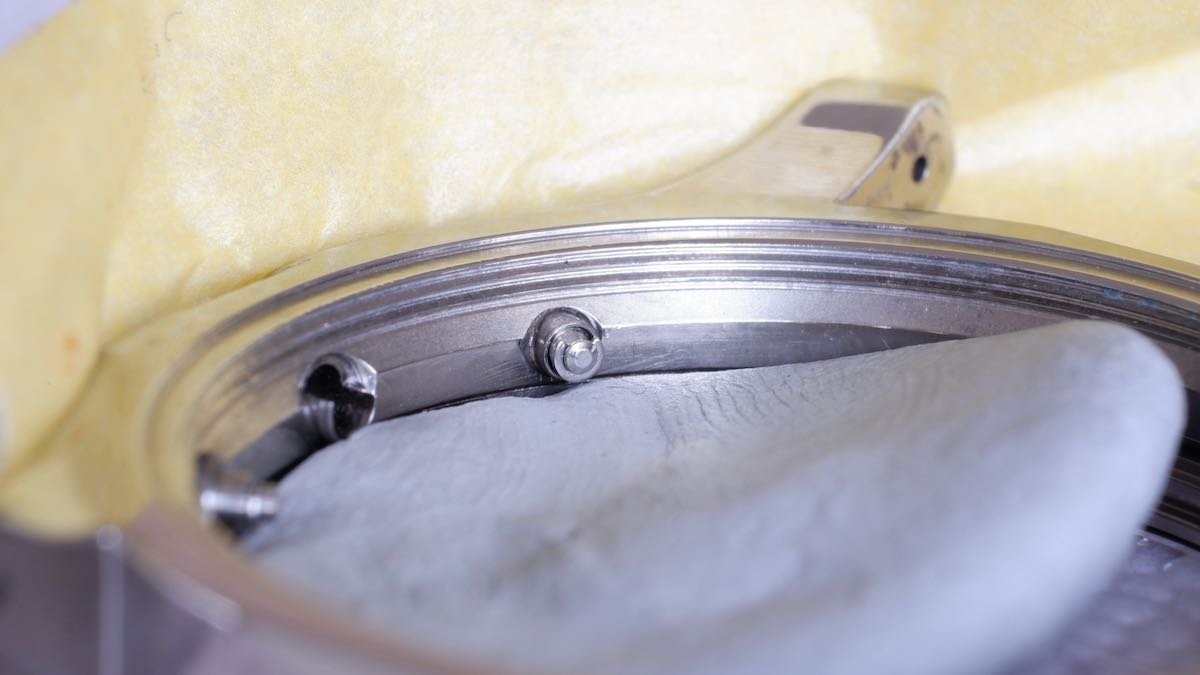
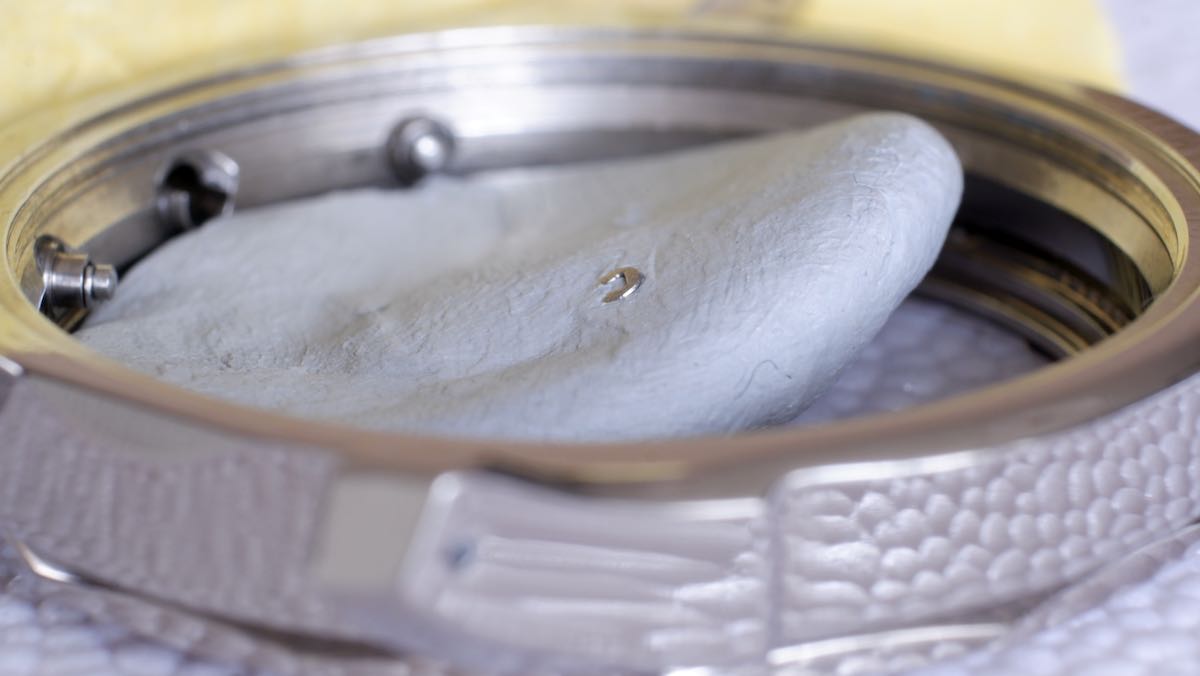
Shape a piece of Rodico into a thin circle and place on the inside of the crystal, just below the pusher tubes. This will catch the c-clips and prevent rebounds. Also put some masking tape around the side of the watch case so it holds in the pusher. Press some of the tape onto the crystal to keep it firm and let some stick up above the case, ready to catch any home runs. Finally rotate the c-clip so the opening is pointing upwards.
Step 3
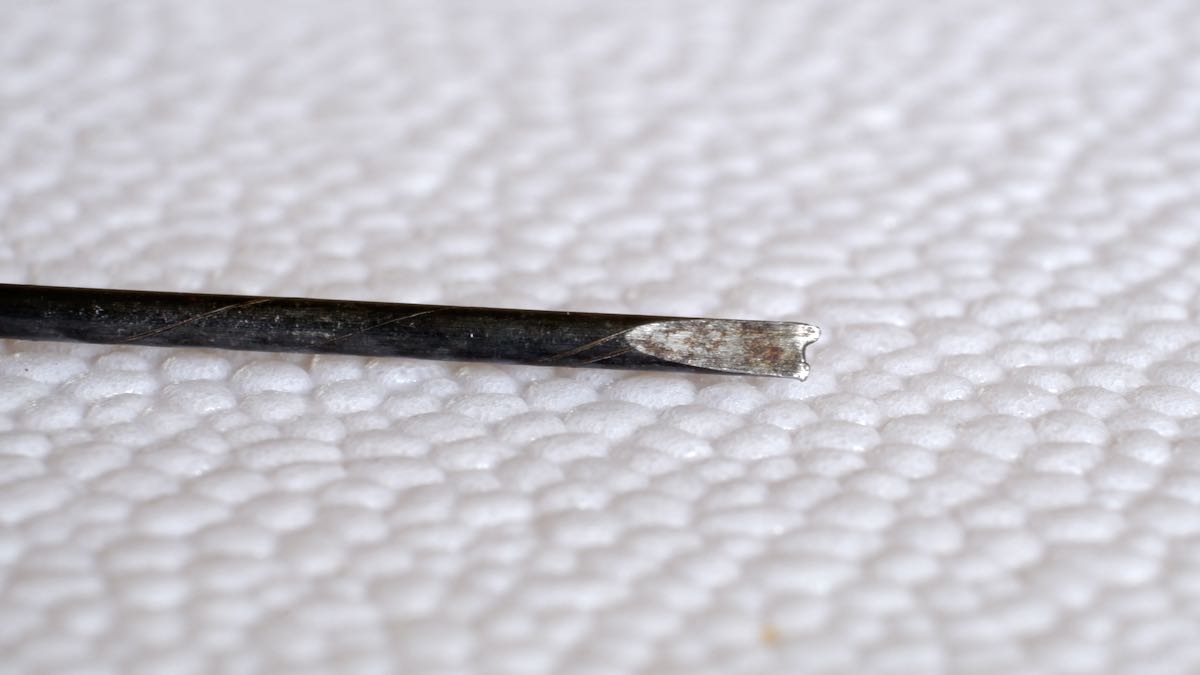
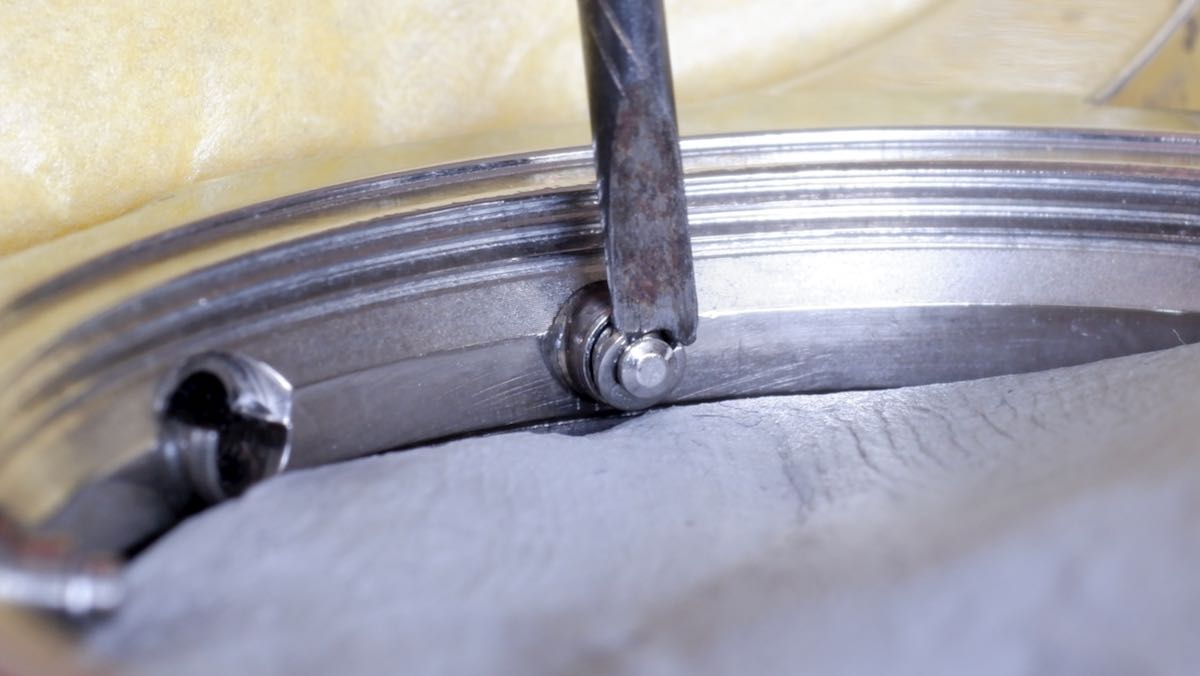
For the next step I made an ugly-but-it-works tool by cutting a groove in an old 2mm screwdriver with a hacksaw. You could also try using a springbar tool if it's small enough. Previously I used two fine screwdrivers to push on each end of a c-clip simultaneously but this V-shaped screwdriver is much more effective.
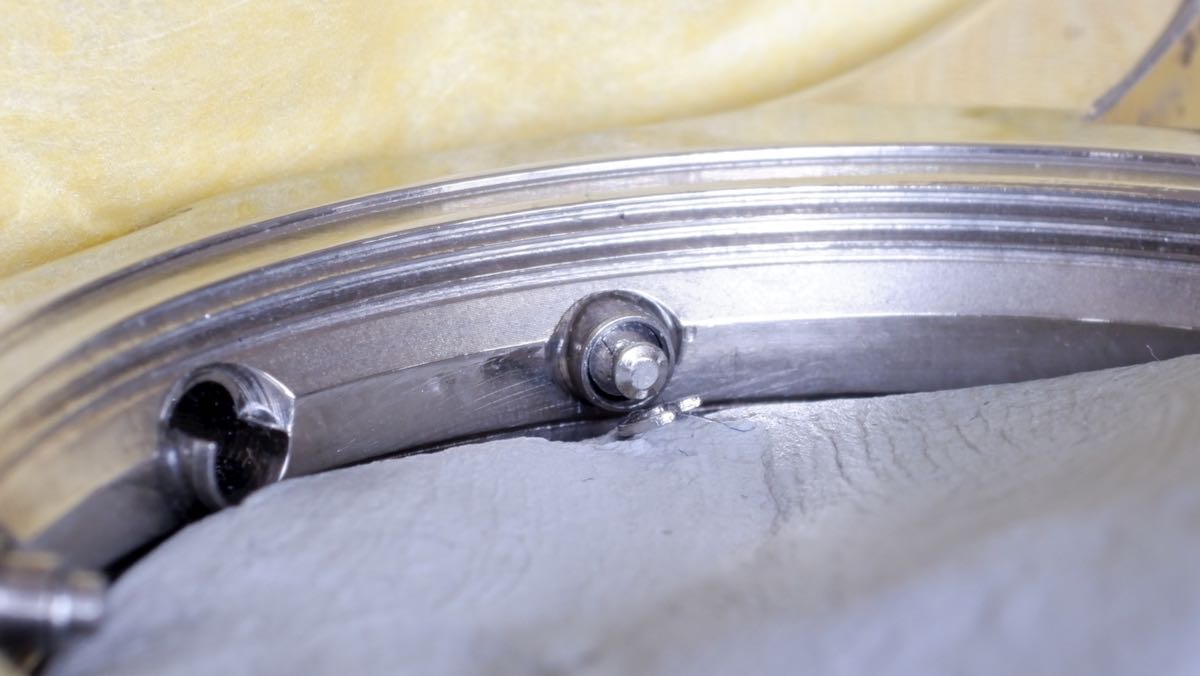
Carefully place the V-shaped screwdriver or springbar tool so it touches both ends of the c-clip and press down. It might take a few tries but the clip will eventually clear the pusher stem.
Step 4
The c-clip is out! It's now important to keep them safe so I like to push them into the Rodico. It makes transporting them around the workspace easier.
Recessed pushers
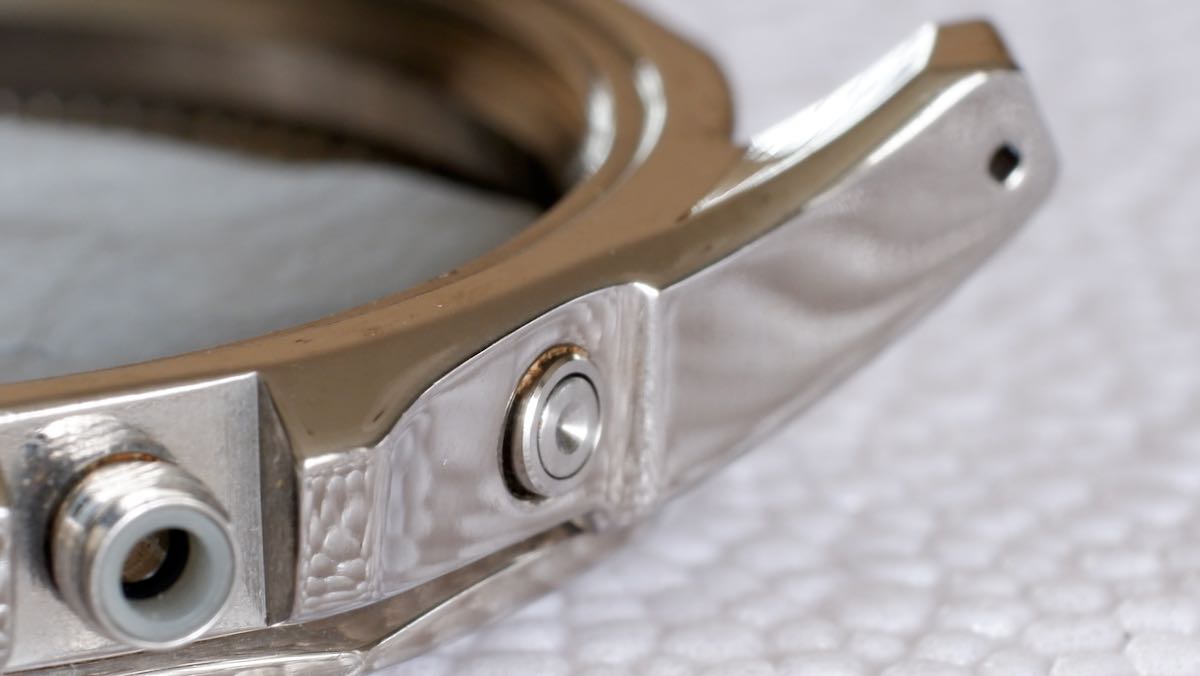
Some pushers are meant to be operated with tweezers or other sharp object, such as this one for adjusting the time on a radio wave control watch. They're harder to hold in for removal but there is a workaround.
Step 1
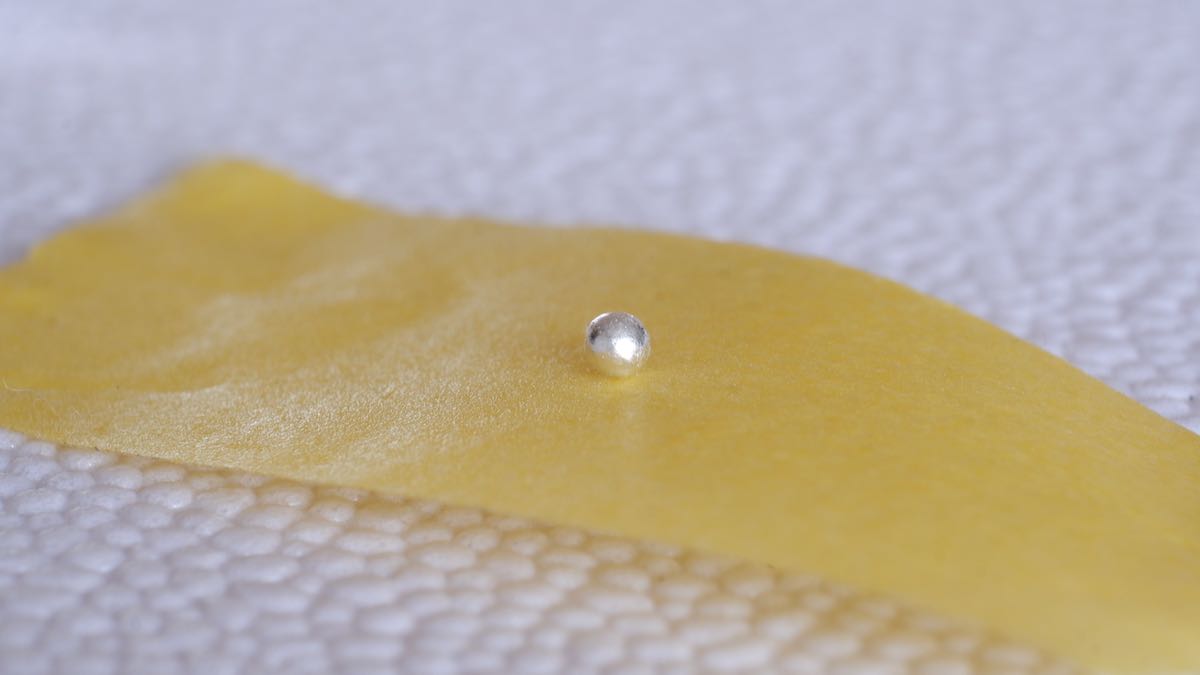
Find a ball bearing or similar hard round object that is the same diameter as the recessed pusher. In this case I actually used one of those edible silver balls you put on cupcakes! Place it in the middle of a piece of masking tape.
Step 2
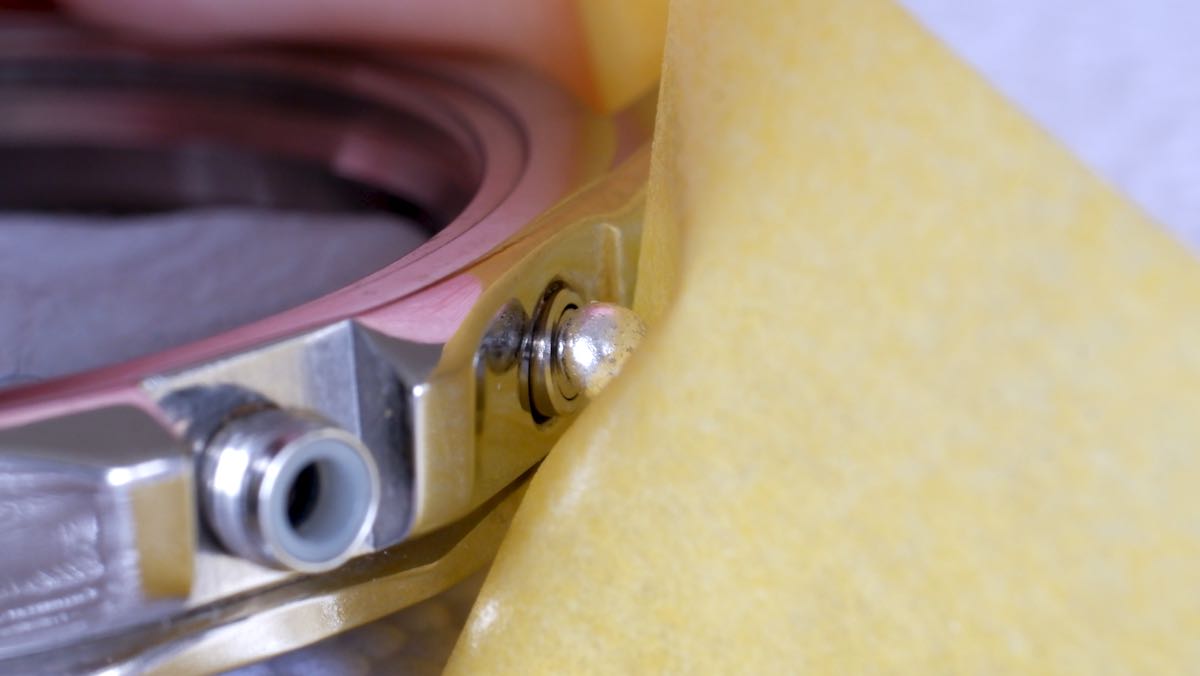
Position the ball so it's directly over the recessed pusher and hold in by pressing the masking tape firmly over the case and crystal, as before. Even if it won't hold the pusher in by itself, at least you now have something for your finger to hold more easily.
Pusher refitting
Step 1
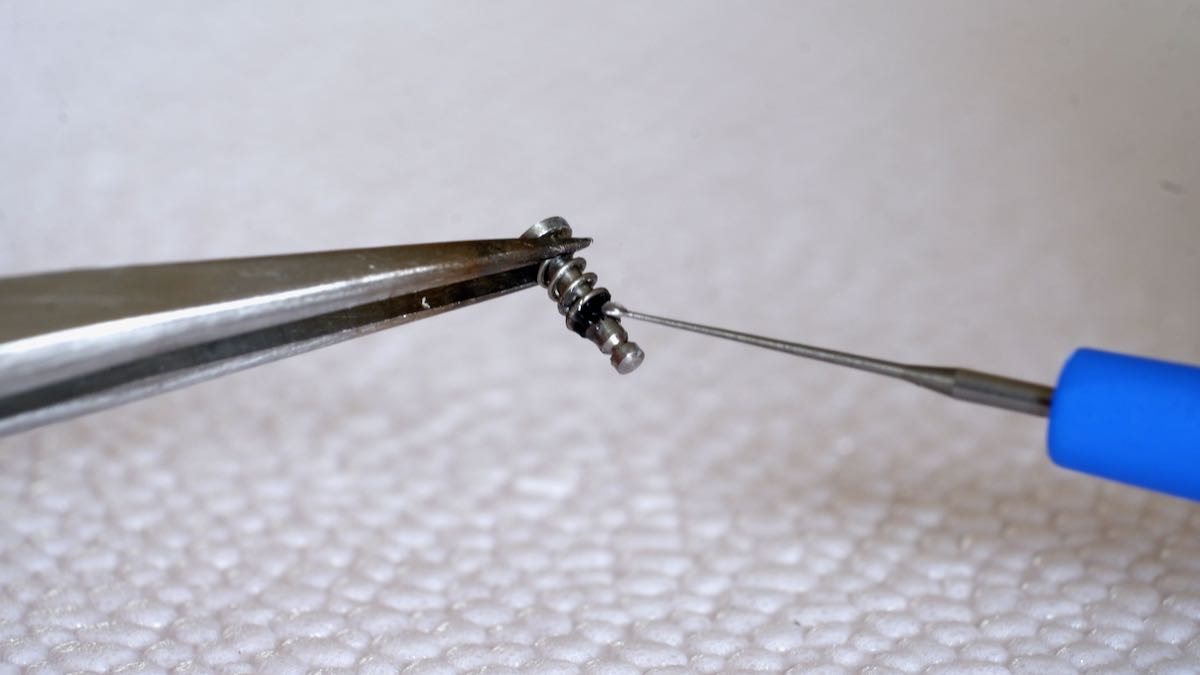
Before refitting the pushers, put a tiny bit of silicone grease on the pusher gasket then push it into the case tube, using masking tape to hold it in as before. Note that if the gaskets are old, you should replace them first.
Step 2
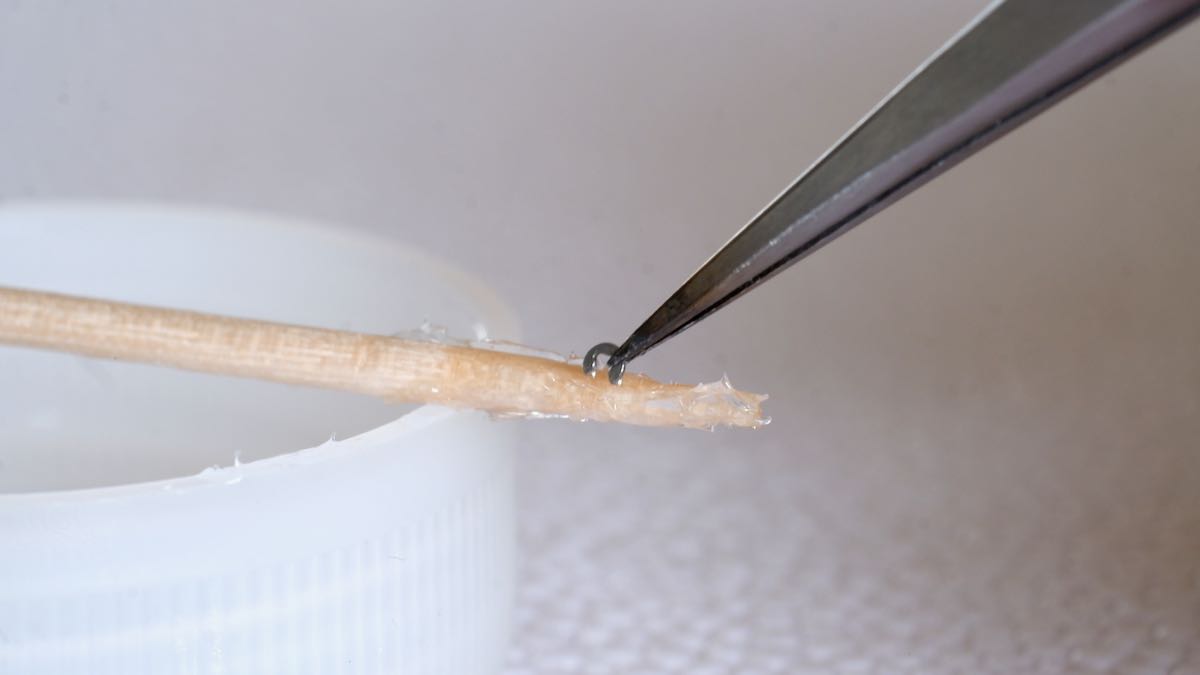
Also put a tiny bit of silicone grease on the tips of the c-clip. This will help it stay on the pusher when you try to press it on.
Step 3
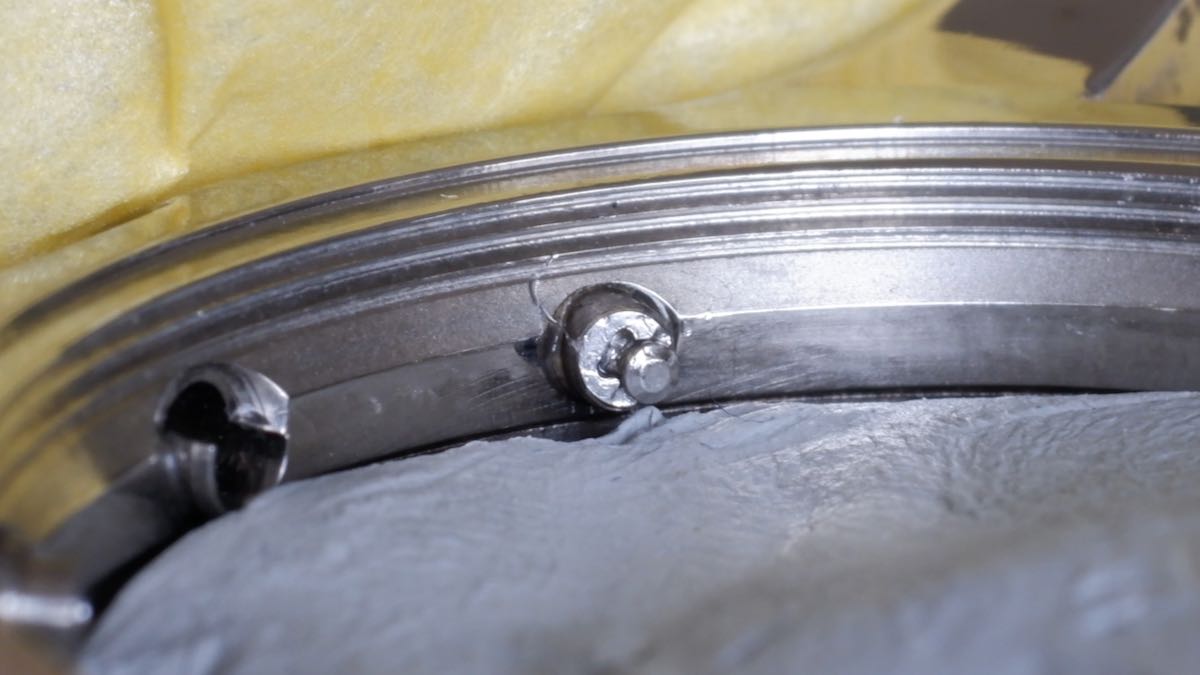
Rest the c-clip on the narrow slot of the pusher at a roughly 45° angle so it's easier to access in the next step. As you can see, unfortunately I put too much grease on.
Step 4
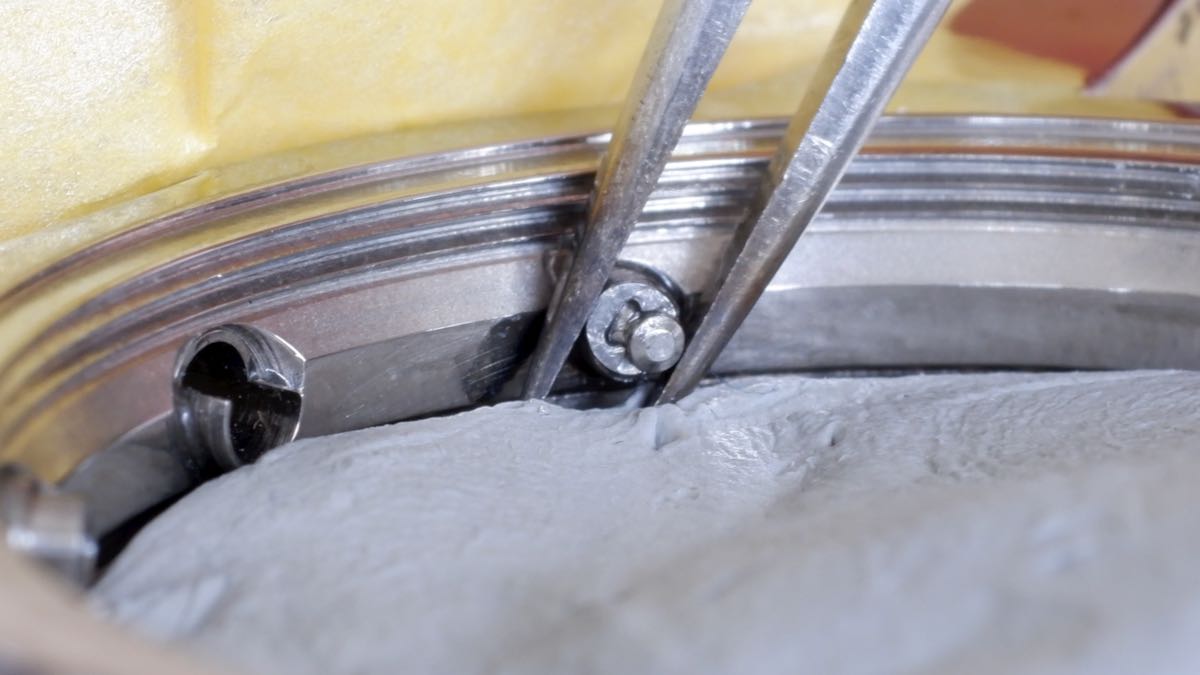
Place your tweezers carefully over the c-clip and the pusher stem, as shown in the photo. Press on the edge of the c-clip and it should snap onto the pusher. It may take a few attempts and you may not hear a clear snap, so keep checking the clip with a loupe until you're sure it's firmly in position. Note: Be very careful not to touch the inside of the crystal with the tips of your tweezers.
Step 5
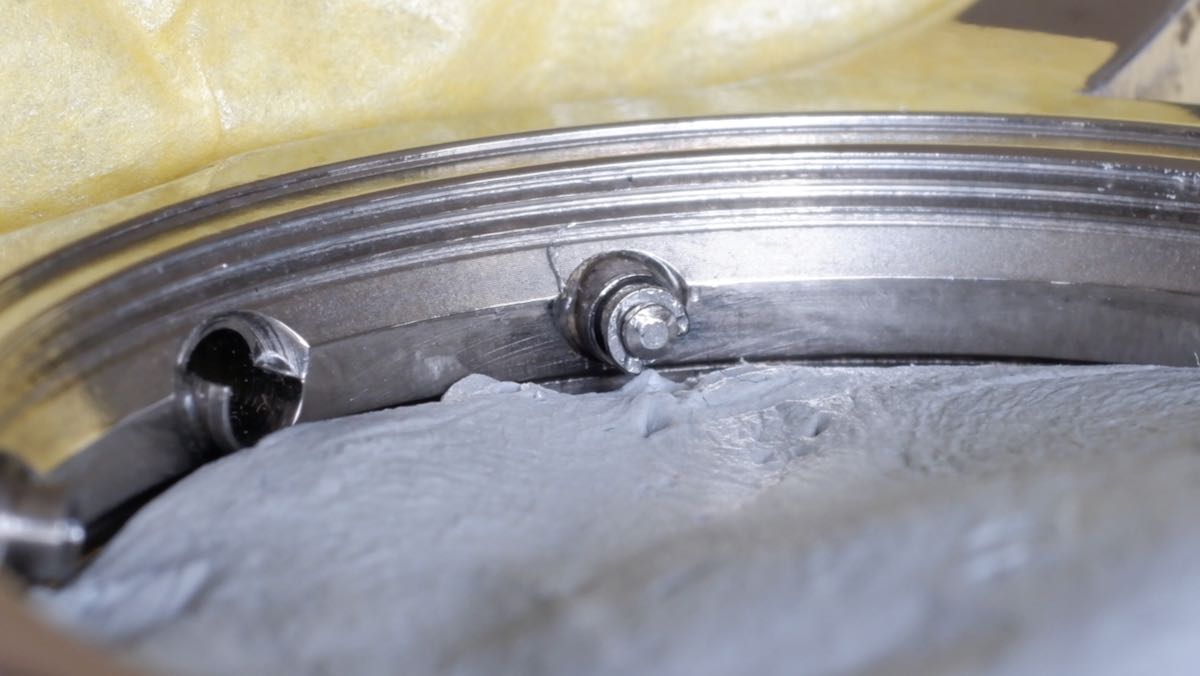
Congratulations, you've done it! All that remains is to clean up any excess grease and any residue left over from the Rodico. Enjoy testing the smooth spring action of the pushers — it's so satisfying.
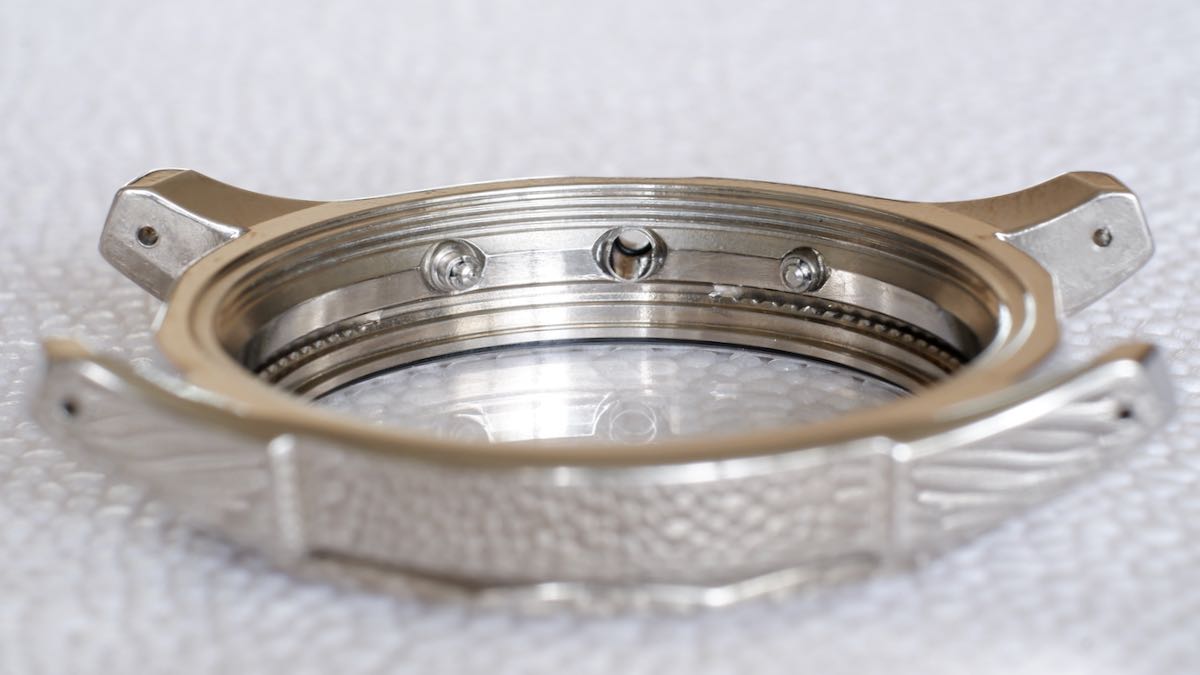
If you liked this, check out more articles about repairing, restoring and enjoying Seiko watches.